Introduction
Why Sourdough Bagels Are the Best Thing Since…Well, Sliced Bagels!
Okay, let’s be real for a second. There’s nothing quite like biting into a fresh, homemade sourdough bagel—chewy on the outside, soft on the inside, and packed with that tangy sourdough flavor. You know the kind of bagels I’m talking about—the ones you’d usually pay way too much for at a fancy bakery. The good news? You can make those same sourdough bagels at home, and they’ll taste even better because, well, you made them.
Don’t Be Intimidated—Yes, You Can Make These!
I get it—”sourdough bagels” might sound like something only pro bakers can handle. But trust me, if you’ve got a sourdough starter and a little patience, you’re already halfway there. The process is simple once you break it down: mix, rise, shape, boil, and bake. Plus, you’ll end up with a dozen bagels that’ll make you feel like a rockstar in your own kitchen. (And if they don’t look bakery-perfect the first time, who cares? They’ll still be delicious!)
What You’ll Need to Nail This Recipe
Making sourdough bagels doesn’t require a ton of fancy stuff, but getting a few basics right can make all the difference. Let’s go over the must-haves:

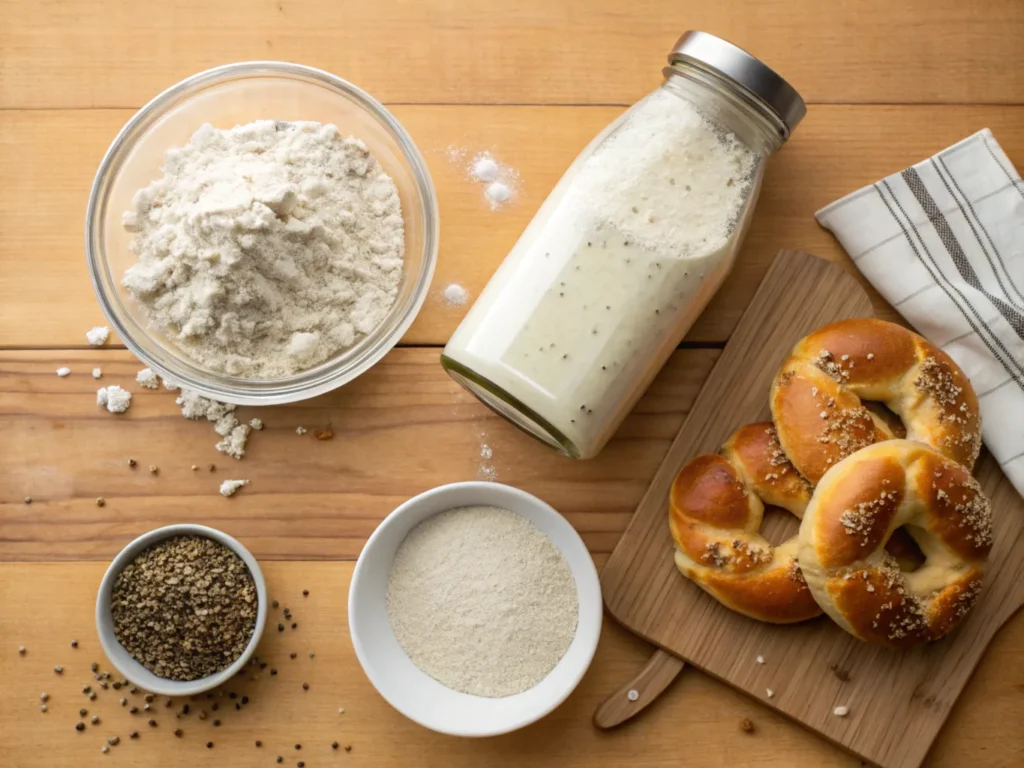
Ingredients
- Bread Flour
Bagels need that classic chewy texture, and bread flour is your secret weapon. It has a higher protein content than all-purpose flour, which helps create that stretchy dough. - Sourdough Starter
This is the star of the show! Your starter should be active and bubbly—think of it as the life of the party for your dough. If it’s been chilling in the fridge, feed it a few hours ahead to wake it up. - Water
Use room-temperature water to keep things moving smoothly. Bonus: filtered water is ideal if your tap water has a strong taste. - Salt
Don’t skip this—salt not only adds flavor but also controls the fermentation process. - Barley Malt Syrup (Optional but Amazing)
Ever wonder what gives bagels that slight sweetness and shiny finish? That’s barley malt syrup. You can find it online or at specialty stores, but honey or brown sugar works in a pinch. - Toppings (Optional)
Think sesame seeds, poppy seeds, everything bagel seasoning, or even a sprinkle of flaky sea salt. Go wild!

Tools
- Mixing Bowl
A good-sized bowl is essential for mixing and proofing your dough. - Bench Scraper
This is your best friend for dividing and shaping the dough. Trust me, it’s a game-changer. - Proofing Basket or Clean Kitchen Towel
If you’ve got a proofing basket, awesome. If not, just use a towel-lined bowl—it works just as well. - Large Pot for Boiling
You’ll need a big pot to boil the bagels before baking. This step gives them that shiny crust and chewy texture. - Baking Sheet and Parchment Paper
To avoid sticky situations (literally), line your baking sheet with parchment paper. - Slotted Spoon
For scooping bagels out of the boiling water without splashing everywhere.
A Few Handy Tips Before You Start
- Don’t have barley malt syrup? Use a teaspoon of honey in the boiling water for similar results.
- If your sourdough starter is a little sluggish, feed it twice before baking to get it extra active.
- Keep a damp towel handy to cover the dough while shaping—it’ll prevent it from drying out.
With your ingredients prepped and tools ready to go, you’re all set to make your first batch of sourdough bagels. Up next? I’ll walk you through the entire step-by-step process. Let’s make some magic happen!
How to Make Sourdough Bagels: The Complete Step-by-Step Guide
Ready to roll? Making sourdough bagels might take some time, but the process is super rewarding. Here’s everything you need to know, one step at a time.

1. Feed Your Starter (Optional Prep Step)
If your sourdough starter hasn’t been fed recently, give it some love 4–6 hours before starting. Mix equal parts flour and water into your starter and let it get nice and bubbly. This is key to getting that tangy flavor and a good rise.
2. Mix the Dough (20 Minutes)
In a large mixing bowl, combine:
- 500g (about 4 cups) bread flour
- 250g (about 1 cup) active sourdough starter
- 200g (just under 1 cup) water
- 10g (2 tsp) salt
Stir everything together until it forms a sticky dough. It’ll feel messy at first, but keep at it! Knead the dough on a floured surface for about 8–10 minutes until it’s smooth and elastic. If it’s too sticky to handle, sprinkle on a bit more flour (but don’t overdo it).
3. Bulk Fermentation (8–12 Hours)
Place the dough in a clean, lightly oiled bowl and cover it with a kitchen towel. Let it ferment at room temperature for 8–12 hours. (Overnight is perfect!) By morning, it should be puffy and about double its size.
Pro Tip: If your kitchen is on the cooler side, give it a little extra time. Patience is the name of the game here.
4. Shape the Bagels (20 Minutes)
Divide the dough into 8–10 equal pieces, depending on how big you want your bagels. Roll each piece into a ball, then poke your thumb through the center to make a hole. Gently stretch the hole until it’s about 2 inches wide (the dough will puff up during proofing).
Place the shaped bagels on a parchment-lined baking sheet. Cover them with a damp towel and let them rest for 1–2 hours until they look slightly puffy.
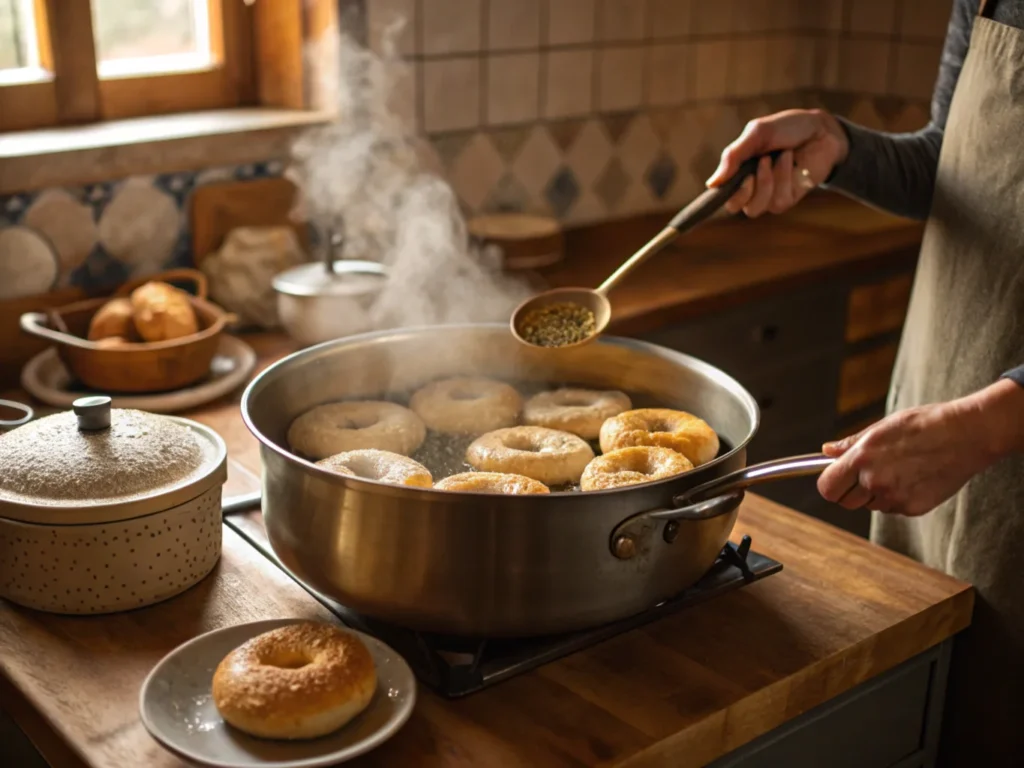
5. Boil the Bagels (15 Minutes)
Fill a large pot with water and bring it to a gentle boil. Stir in 1 tablespoon of barley malt syrup, honey, or sugar—it’s what gives bagels their shiny crust.
Boil the bagels in batches (2–3 at a time) for about 1 minute per side. Use a slotted spoon to transfer them back to the baking sheet.
6. Add Toppings (Optional)
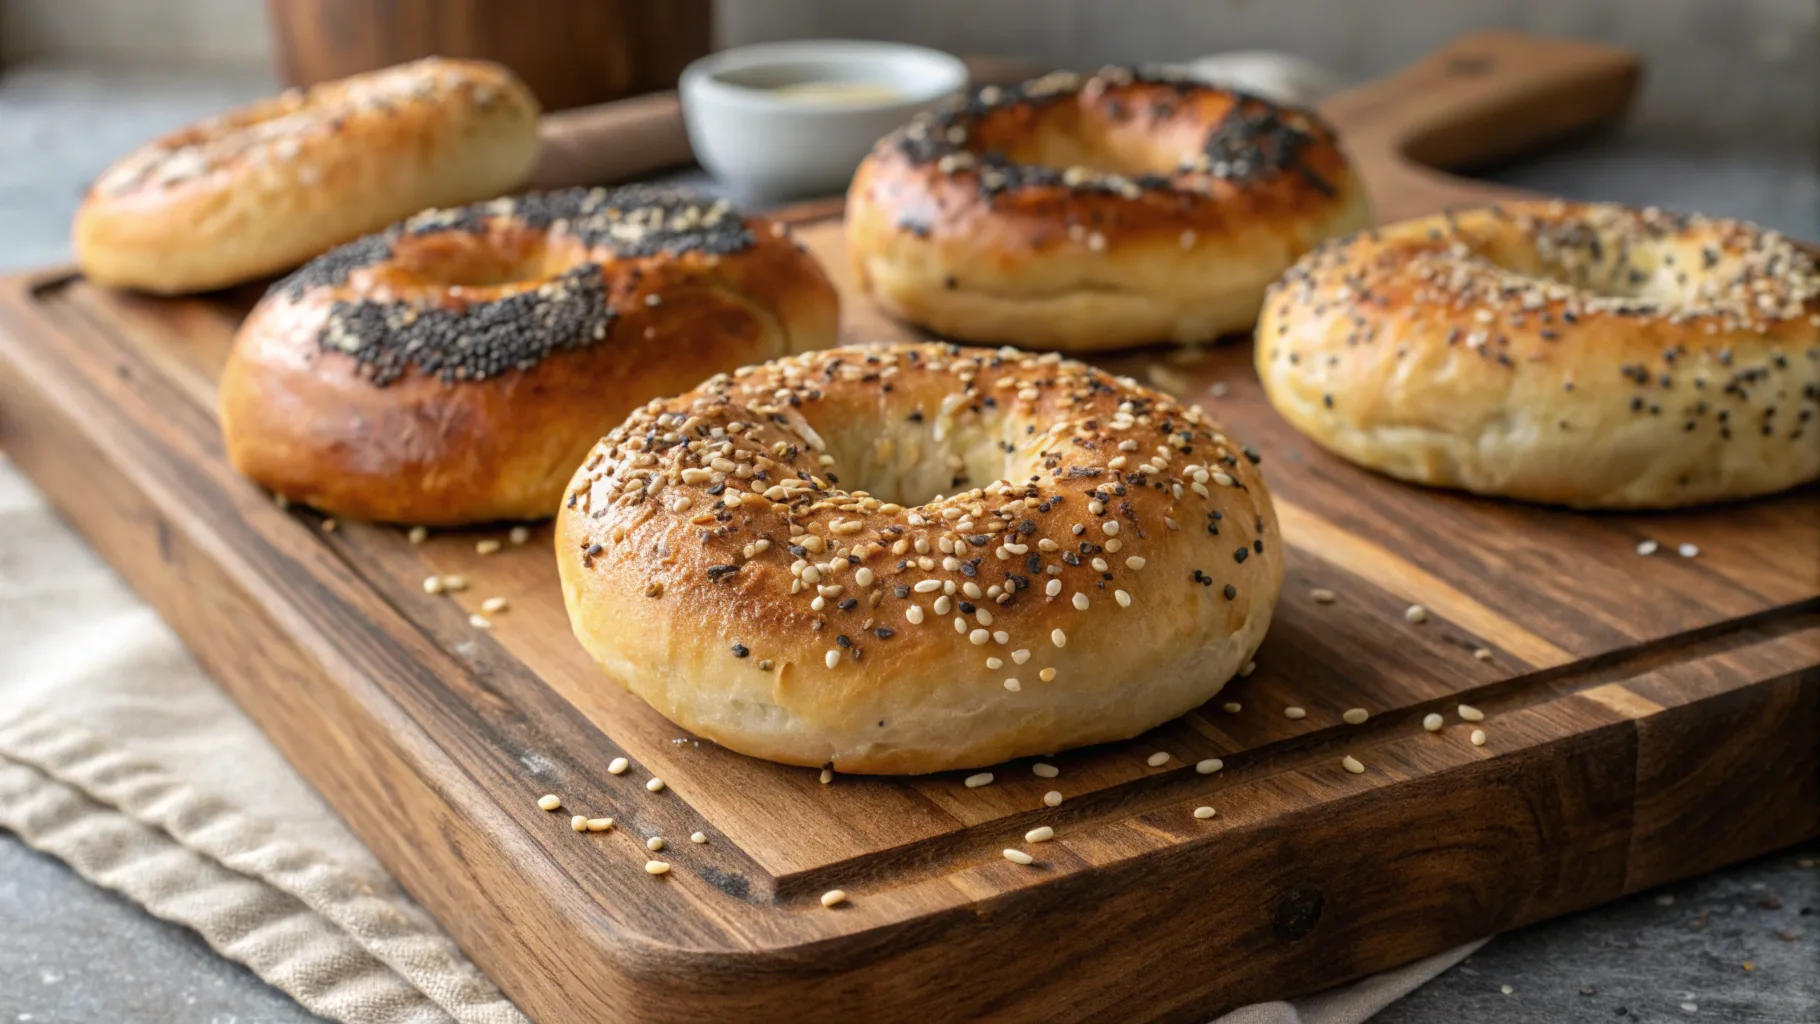
Before baking, sprinkle on your favorite toppings while the bagels are still damp from boiling. Go classic with sesame or poppy seeds, or get creative with everything seasoning, cheese, or even dried herbs.
7. Bake the Bagels (20–25 Minutes)
Preheat your oven to 425°F (220°C). Bake the bagels for 20–25 minutes, or until they’re golden brown and your kitchen smells like heaven. Let them cool slightly before digging in—if you can wait that long!
Quick Notes for Success
- Want a softer crust? Add a small dish of water to the oven while baking for extra steam.
- If you’re planning to freeze some bagels, let them cool completely first. They’ll keep beautifully for up to 3 months.
Now that your sourdough bagels are baked to perfection, let’s talk about how to customize them for any craving. Up next: tips for making these bagels truly your own!
Make Them Your Own: Fun Variations to Try
One of the best things about sourdough bagels is how versatile they are. Sure, plain bagels are great, but why stop there? Let’s have some fun and get creative with flavors, toppings, and even dough tweaks.
1. Sweet Treats
- Cinnamon Raisin Bagels: Mix 2 teaspoons of cinnamon and 1/2 cup of raisins into the dough before the bulk fermentation stage. For extra sweetness, sprinkle a little cinnamon sugar on top before baking.
- Blueberry Bagels: Fold in 1/2 cup of fresh or dried blueberries. (If using fresh, pat them dry to avoid extra moisture.)
- Chocolate Chip Bagels: For dessert-style bagels, add 1/2 cup of mini chocolate chips. These are a hit with kids—and, let’s be honest, adults too.
2. Savory Spins
- Jalapeño Cheddar Bagels: Toss in diced jalapeños and shredded sharp cheddar. Sprinkle a little extra cheese on top for that melty, crispy finish.
- Garlic Herb Bagels: Add minced garlic and dried herbs like rosemary or thyme to the dough. Brush with a little olive oil and sprinkle with garlic salt before baking.
- Everything Bagels: No bagel list is complete without this classic. Top your bagels with a mix of sesame seeds, poppy seeds, dried garlic, dried onion, and a pinch of salt.
3. Dietary Swaps
- Whole Wheat Bagels: Replace up to 50% of the bread flour with whole wheat flour. The texture will be slightly denser, but they’re still delicious.
- Gluten-Free Bagels: Use a gluten-free sourdough starter and a high-quality gluten-free bread flour blend. (The process might need minor adjustments, so follow a gluten-free-specific recipe for best results.)
4. Size Matters
- Mini Bagels: Perfect for snacks or a bagel-and-cream-cheese platter. Divide the dough into 12–14 pieces instead of 8–10 and adjust the baking time to about 15 minutes.
- Jumbo Bagels: Go big for sandwiches! Divide the dough into 6 pieces and bake for an extra 5 minutes to ensure they’re fully cooked.
5. Mix-and-Match Combos
Who says you have to stick to one flavor? Split your dough in half and make two different kinds in one batch. Maybe half cinnamon raisin, half everything bagels. Or go wild with something like chocolate chip on one side and jalapeño cheddar on the other.
Pro Tip for Storing Customized Bagels
If you’re experimenting with flavors, freeze extras so you can enjoy your creations anytime. Just slice them in half before freezing, so they’re ready to pop straight into the toaster.
Sourdough Bagels FAQ: Your Burning Questions Answered
Making sourdough bagels at home can spark a lot of questions, especially if it’s your first time. I’ve gathered the most common ones to make your baking journey as smooth as possible.
1. Can I Make Sourdough Bagels Without a Starter?
Unfortunately, no. A sourdough starter is what gives these bagels their signature tangy flavor and chewy texture. If you don’t have one, consider starting your own—it’s easier than it sounds! Or, you can try using commercial yeast for a different type of bagel.
2. How Do You Store Sourdough Bagels?
Store bagels in an airtight container or resealable bag at room temperature for up to 2 days. For longer storage, freeze them—just slice them in half first so they’re toaster-ready.
3. Can I Freeze Sourdough Bagels?
Yes! Sourdough bagels freeze beautifully. Once they’ve cooled completely, wrap them individually in plastic wrap and pop them into a freezer-safe bag. They’ll stay fresh for up to 3 months.
4. What’s the Difference Between Sourdough Bagels and Regular Bagels?
The main difference is in the leavening. Sourdough bagels use a natural sourdough starter, which gives them a tangy flavor and a slightly denser texture. Regular bagels often use commercial yeast, which yields a lighter crumb.
5. How Long Does It Take to Make Sourdough Bagels?
This is a labor of love! The process typically takes about 12–24 hours, including the overnight bulk fermentation. But don’t worry—the actual hands-on time is much shorter, and the results are so worth it.
6. Why Do You Boil Bagels Before Baking?
Boiling is what gives bagels their iconic chewy texture and shiny crust. The quick dip in hot water gelatinizes the starches on the surface, locking in moisture and helping toppings stick.
Conclusion: Time to Get Baking!
And there you have it—everything you need to make sourdough bagels that’ll have your family and friends lining up for seconds (and thirds). Sure, it’s a bit of a process, but once you take that first bite into a warm, chewy, perfectly tangy bagel, you’ll know it was worth every minute.
So, roll up your sleeves, dust off your sourdough starter, and get baking! Whether you stick with the classic recipe or try one of the fun variations, you’re about to make some seriously good bagels. And hey, don’t forget to share your creations—because the only thing better than eating a sourdough bagel is showing it off on Instagram first.


7 thoughts on “The Ultimate Guide to Homemade Sourdough Bagels”
Comments are closed.